Make your own SNES Classic. [DIY]
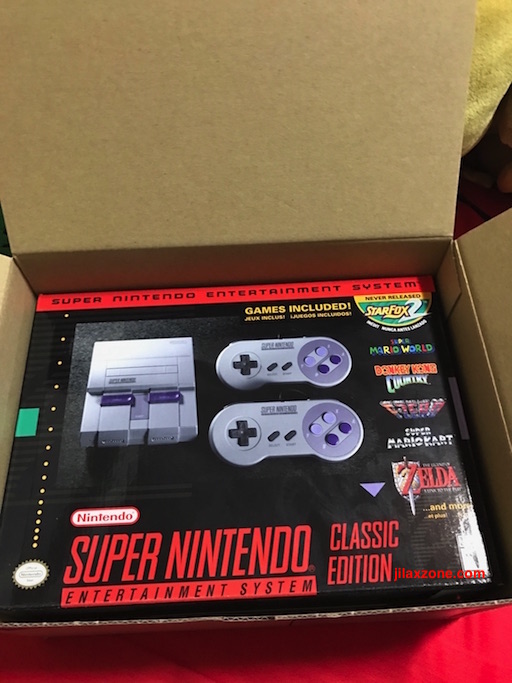
Nintendo finally start selling SNES Classics all over the world. If you are the lucky one, then you can get one. Visit Nintendo.com or nearby game store to get one for you.
But for those either unlucky because they are sold out or feel SNES Classic is not that worth your money (it’s US$79.99 MSRP on Nintendo US site – different regions may have different price and even more expensive on 3rd party e-commerce site/game stores), here I’ll show you how to easily make one with your Android tablet/phone.
The SNES Classic DIY ingredients – Make your own SNES Classic
- Android phone/Tablet
- SNES Emulator
- SNES ROMS
- Bluetooth Controller
- HDMI Cable from phone/tablet to TV (optional and in case you really want to play it on big screen)
The last two ingredients are totally optional, but if you add them to your SNES DIY ingredients, for sure it will make more fun.
And as most of you may have guessed, yes I’m going to install SNES emulator on the Android device and hook it up to TV. Keep reading in case you don’t know how to mix the ingredients.
Let’s mix it up to be a DIY SNES Classic!
Here’s how you can mix them up to be a mighty DIY SNES Classic.
1. First and for all, boot that Android device (phone/tablet).
2. Once booted and turned on, go to Google Play Store or any other app stores of your choice, type SNES Emulator and download it.
In case you need my recommendation, it will be SNES9X EX+. Download link here.
I’ve been using it myself, it runs all of my games perfectly plus it does have Bluetooth controller support with almost zero configuration.
3. Next on the list is to find the SNES ROMS. As much as I want to explain thoroughly here, but I prefer not to. I would like to avoid copyright issues. But I can give you a hint. Google is your best friend. Do Google how to get your SNES ROMS. Do remember though, always respect the developer and team who have made the game. Without them, you won’t be able to enjoy whatever game you are enjoying today. Do consider to purchase their new games if you like their past old SNES games.
4. Start playing. Open the SNES Emulator, do some configuration as necessary and suitable for you. Then select the SNES ROM you would like to play with.
If you are using SNES9x EX+, tap on “Load Game” to start choosing SNES ROM and playing.
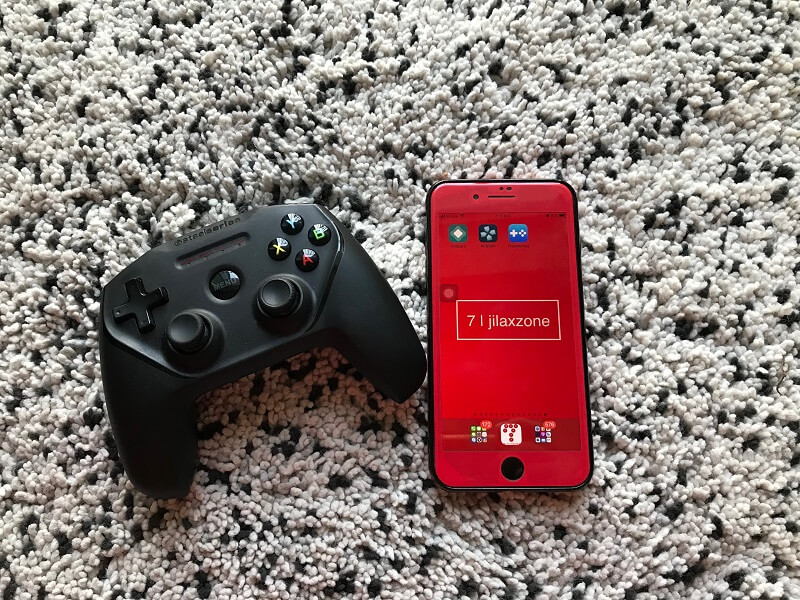
5. (Optional) Connect a Bluetooth Controller to it. Open Android settings > Bluetooth. Turn it ON and make sure it’s discoverable. Once connected, go to the SNES Emulator settings, make sure you make to select Bluetooth Controller as the input.
If you are using SNES9x EX+, go to “Key/Gamepad Input Setup”, then tap on “Auto-detect Device to Setup”. Press any button on your controller, then in no time, it will make the Bluetooth Controller of yours to be the main method of input. On the profile screen, tap on “Set In-Game Actions” to map your Bluetooth Controller buttons to SNES Controller buttons.
In case you need a Bluetooth Controller, check here if you are in Singapore or check this Amazon link: 8Bitdo N30 Pro Controller with Bonus Carrying Case – for iOS/Android/Mac/PC.
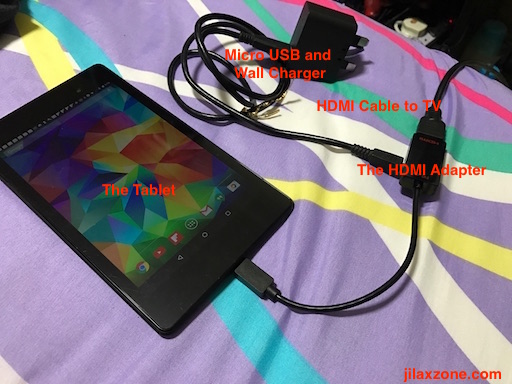
6. (Optional) Plug the HDMI cable from your Android to your TV to enjoy playing SNES games on big screen.
In case you need HDMI cable for your Android, do check this Amazon link: Alotm MHL 5 Pin Micro USB to HDMI Adapter Converter Cable 1080P HDTV for Android Devices Samsung Galaxy Note 4, Note Edge, S2, LG, Zte, HTC One M8, Xiaomi (Black).
Find other awesome articles, tips, tricks related to Life and Tech, iOS & Android quick review on:
Playing with your DIY SUPER POWER!
Enjoy playing with your DIY Super Power SNES Classic. There are, however, some pros and cons when playing using the DIY SNES.
Pros:
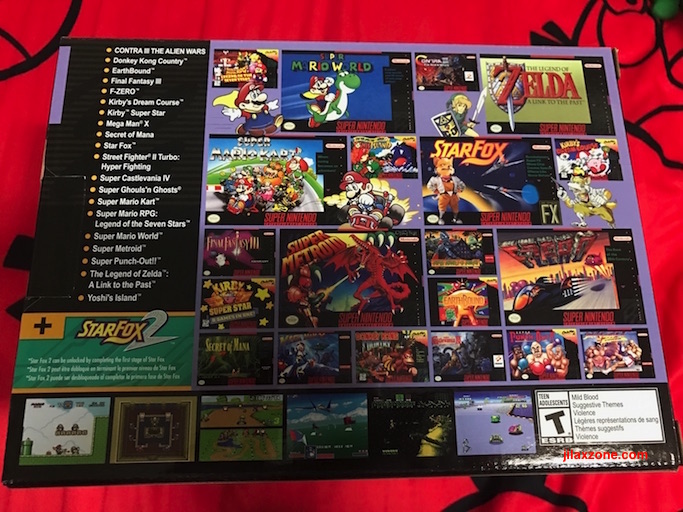
+ You can add as many game titles as you want, unlike the real SNES Classic which is fixed to 21 games.
+ You can choose screen sizes: phone, tablet or TV screen
+ It’s portable SNES. You can play it anywhere since it’s an Android phone/tablet, unlike the real SNES Classic, despite its being small, but it still needs electricity to boot and start playing
Cons:
– It’s not a real SNES from Nintendo. The DIY is simply not a collectible items
– Depends whether or not you are using controller and depends on the choice of your controller, the feel is not the same like if you are using the real SNES controller
– You won’t have the walkthrough guides
– You can’t play the never released Star Fox 2
Both DIY SNES and real SNES Classic have in common:
+ You can save your game anywhere anytime.
Anyway if you are a SNES first timer, none of the Cons above would have big impact for you.
Are you buying SNES Classic or have you bought one or will you consider to just DIY your own SNES Classic?
Let me know your comments and thoughts down below on the comment section. Cheers!
For Life & Tech tips, iOS & Android Apps and Games quick review, do visit below:
Hi, thanks for reading my article. I do spend my time and efforts writing this article based on my own experiences for my own journal as well as to share the knowledge to whoever read it so hopefully they can get the benefit out of it
If you found and feel this article is good and helping you in anyway, help me to spread the words by sharing this article to your family, friends, acquaintances so my spent time and efforts does not just stop at you, they will also get the same goodness and benefit from it.
Thank you!