iNDS iOS: Step by step guide to install NDS Emulator & Play Nintendo DS games on iPhone without Jailbreak
- This tutorial detailed the steps to enable you to play any Nintendo DS games on your iPhone running on latest iOS.
- No jailbreak nor any forms of subscriptions is required.
- This tutorial though intended for iPhone, but works the same for iPad as well as iPod Touch.
- For other interesting articles related to gaming, check it out here Xbox, PS5, Nintendo Switch, other gaming, iOS, Tech or more at JILAXZONE.
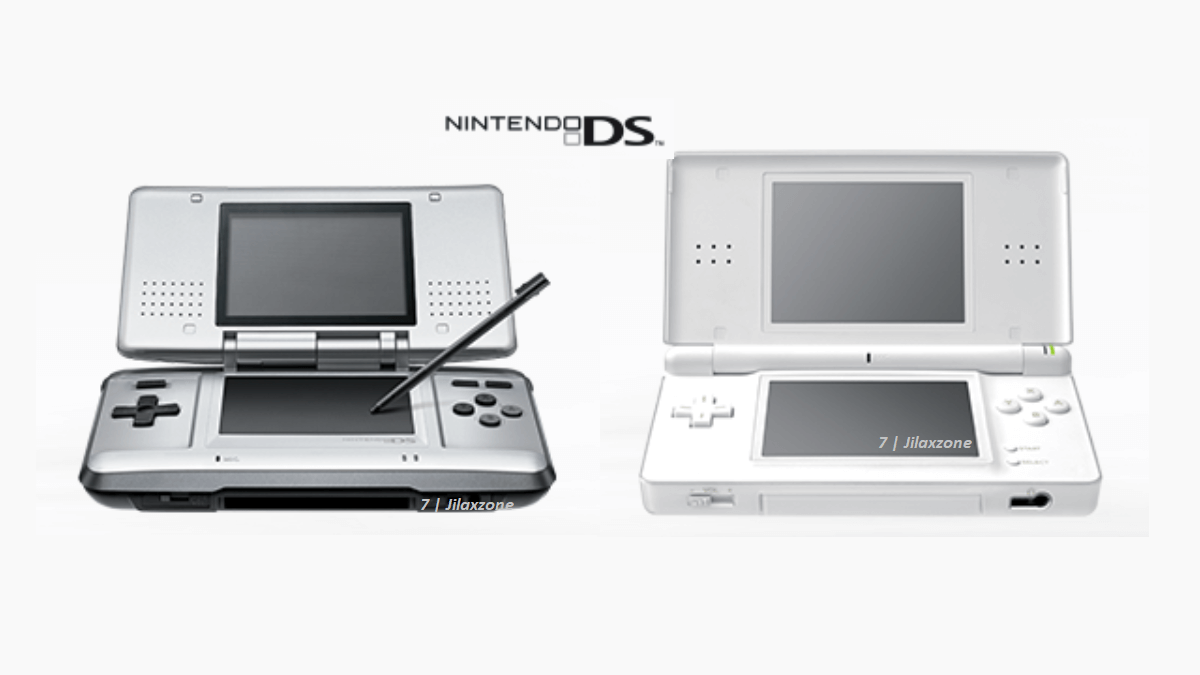
Nintendo DS, in short people is calling it as “NDS” or just “DS”, is the most top selling handheld game console to date, selling about 150 million units during its lifespan from 2004 till 2013. I will use “NDS” for the rest of the article for easier and shorter reference. I personally owned NDS back then and have many sweet memories using the dual screen handheld game console. Mine was the lite version and colored in black. My personal favorites were Mario Kart DS, Cooking Mama, GTA Chinatown Wars, Zelda series. I wasn’t into Pokémon back then. You too probably have many of your own sweet memories using NDS back then and likely that’s the reason why today you are here, visiting this page.
On this article, I walk you through the step by step on how to install NDS emulator into your iPhone so that you can bring back those sweet memories of yours right into your palm of hands. There are a few NDS emulators for iPhone out there, some paid/subscription based, some are free and open source. For this article, I’m going to show you using the free and open source one – the iNDS.

Installing iNDS on iOS – The Nintendo DS Emulator for iPhone
The steps written here are tested on latest iOS – at the time this article is written is iOS 14.4 and using the iPhone that I currently have – iPhone XR. Should you are using different version of iOS or iPadOS, the steps may be slightly different but should not deviate too much. Anyway, in case you have questions / issues, feel free to put them down on the comment section down below, I’ll be more than happy to help you.
Some of the steps mentioned here you can skip them if you have done it before. In summary, here they are.
1) Install iTunes on Computer.
2) Register for Apple FREE Developer Account.
3) Generate App Specific Password.
4) Install AltStore to Computer.
5) Connect your iPhone.
6) Install AltStore to iPhone.
7) Get the latest iNDS build for iOS.
8) Install iNDS to iOS.
9) Run iNDS on iOS.
Step 1) to Step 6) Read here.
For details of step 1) to step 6) – including all download links, I have detailed and provided them here on this link: Complete guide how to sideload apps/games into iPhone/iPad without jailbreak at JILAXZONE. You need about 15-30 minutes, depends on your internet connection to complete everything – since mostly are either downloading software or registering account.

Once you have done all the first 6 steps, then continue on subsequent steps below.
Step 7) Get the latest iNDS build for iOS.
Step 7a) Get the latest iNDS build using the download link below. Open the link above from your iPhone using Safari browser.
| Download link | iNDS for iOS on GitHub |
Step 7b) Once the link is opened, download the latest iNDS.ipa to your iPhone. When prompted by Safari to download, tap on “Download”. In case you don’t know, IPA file (.ipa) is iOS Application Package (iOS app/game file – it’s like EXE file for Windows or APK file for Android).
Step 8) Install iNDS to iOS.
| Prerequisites: Before proceeding to the steps below, ensure you have done Step 1) until Step 6) and ensure you have AltServer running on your Computer and your iPhone plugged in to the same Computer that AltServer is running. |
Step 8a) Open Files app and locate the iNDS.ipa file on your iPhone. In case you don’t know where the file is, I would recommend you to first set the default download folder on Safari using the guide here: Setup Safari default download folder at JILAXZONE, and then redo the previous step to download the iNDS.ipa.
Step 8b) Once you have located the iNDS.ipa file, tap on the IPA file, then press the arrow up button, to show you list of apps available to open the file. If you can’t see AltStore listed there, then scroll until the end and tap “More”.
Step 8c) Find “AltStore” or “Copy to AltStore” and tap on it. AltStore shall get opened and begin sideloading the iNDS.ipa file. Within minutes, you should be able to see the iNDS icon on iPhone Home screen.
Yes, you just installed NDS emulator on your iPhone successfully!
Step 9) Run iNDS on iOS.
Running iNDS on iOS is as simple as tapping the icon. You will then see the iNDS logo. However, if this is your first time opening iNDS, you won’t see any NDS games on it. You need to get your own NDS games for it. For legal reasons and for respecting game developers and publishers out there, I won’t detail the steps here, but you can google for it easily. Ensure to transfer your NDS games into the iPhone.
Once NDS games are transferred, to start playing NDS games on your iPhone, do the following steps (this is the easiest steps):
Step 9a) Go to Files app, navigate to the folder where you transferred your NDS games earlier. Tap on the NDS ROM file.
Step 9b) Your NDS game will be added in directly into iNDS Emulator. Repeat step a) for the rest of your NDS games.
Step 9c) Now on iNDS emulator, tap any of your game to start playing.
That’s it!
What are you waiting for?
Right now, I have loaded in 2 of my childhood sweet memories games into my iPhone: Mario Kart DS and the Legend of Zelda: Phantom Hourglass and ready to play them anytime I like to play them.
What about you? Which game are you planning to play? Well, don’t wait to bring back those sweet memories of yours!
Do give your comments down below on the comment section. Oh! If you are facing any difficulties on any steps provided here, don’t hesitate to put your issue also down below on the comment section, I’ll try to help.
Play better with Controller!
While you can always use the touchscreen of the iPhone, but for greater fun and enjoyment, I would recommend you to play the games with the Controller using physical buttons – so the experience is (almost) the same like the original. Just in case you need recommendation, here they are. I am personally using SteelSeries Nimbus to play the games.
SteelSeries Nimbus+: For playing iOS games. I like it because it’s MFi certified – Made for iOS, any controller-compatible games will for sure run with this controller.

Alternative link in case you can’t see the link above: SteelSeries Nimbus+ on Amazon. If you need to buy the smartphone clipper, here: Nimbus iPhone clipper on AliExpress.
The new Xbox Series X|S Wireless Controller

Get Xbox Series X|S Wireless Controller on Amazon
Read here for pairing Xbox Series X|S Controller with your iPhone at JILAXZONE.
PS5 DualSense

Read here for pairing PS5 DualSense Controller with your iPhone at JILAXZONE.
Note: If you buy anything from Amazon / AliExpress using links above, I will earn a small commission at no extra cost charged on your purchases.
Do you have anything you want me to cover on my next article? Write them down on the comment section down below.
Alternatively, find more interesting topics on JILAXZONE:
JILAXZONE – Jon’s Interesting Life & Amazing eXperience ZONE.
Hi, thanks for reading my curated article. Since you are here and if you find this article is good and helping you in anyway, help me to spread the words by sharing this article to your family, friends, acquaintances so the benefits do not just stop at you, they will also get the same goodness and benefit from it.
Or if you wish, you can also buy me a coffee:

Thank you!
Live to Share. Share to Live. This blog is my life-long term project, for me to share my experiences and knowledge to the world which hopefully can be fruitful to those who read them and in the end hoping to become my life-long (passive) income.
My apologies. If you see ads appearing on this site and getting annoyed or disturb by them. As much as I want to share everything for free, unfortunately the domain and hosting used to host all these articles are not free. That’s the reason I need the ads running to offset the cost. While I won’t force you to see the ads, but it will be great and helpful if you are willing to turn off the ad-blocker while seeing this site.