
iOS 14: How to create a smart stack widget yourself – Works for iPadOS 14 too
Doesn’t like with the default Smart Stack widget that comes with iOS 14? You can create Smart Stack widget yourself with this simple trick.
Have you upgraded to iOS 14? Depends on when you read this article, but as of today, Apple has released iOS 14 to the masses – though with a caveat, check it out here to get iOS 14 or iPadOS 14 for your iOS compatible device.
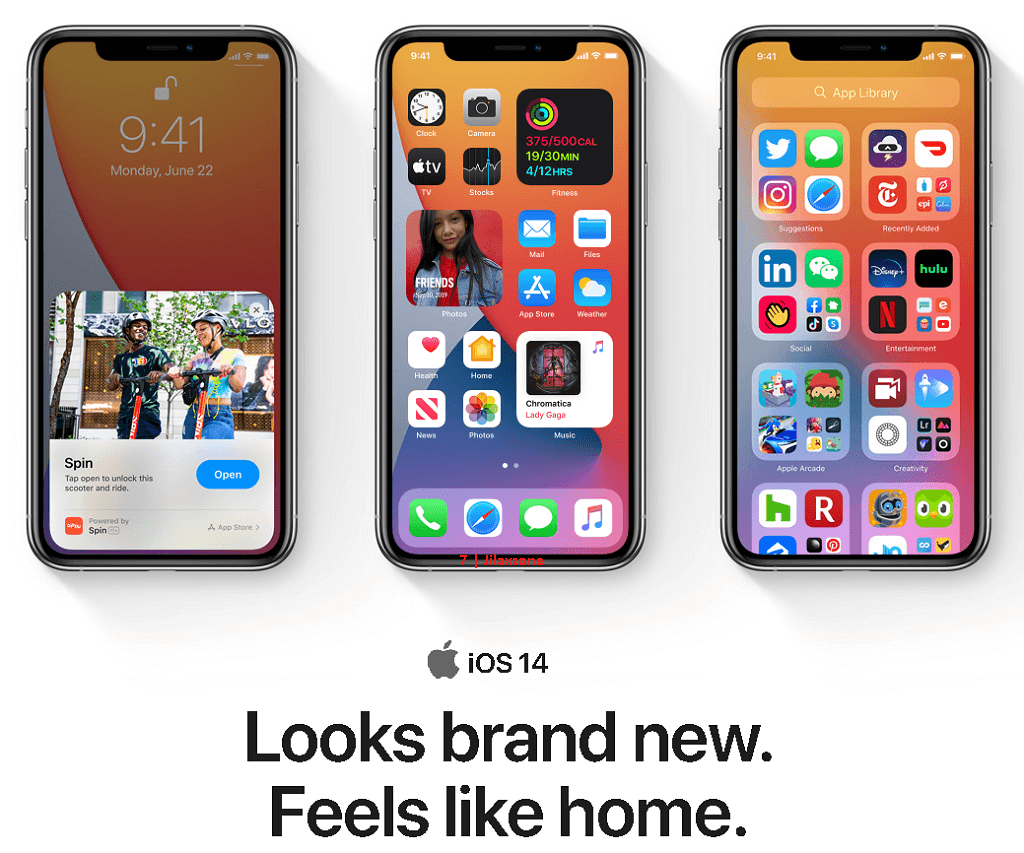
One of the key features and differentiator between iOS 14 and all iOS before it is that the ability to use widget at home screen and one of the widget – I can say the coolest one so far – is the Smart Stack widget.
However, if you are like me, the default Smart Stack widget from Apple, as it turns out, is not so smart. That’s because the Smart Stack widget includes things that I find it boring or I don’t like to see (such as Notes, Stocks). In case you are in the similar situation like me, I’ve got the workaround for you!
How to create a Smart Stack Widget on your own on iOS 14
It is as simple as add widget, stack them, repeat.
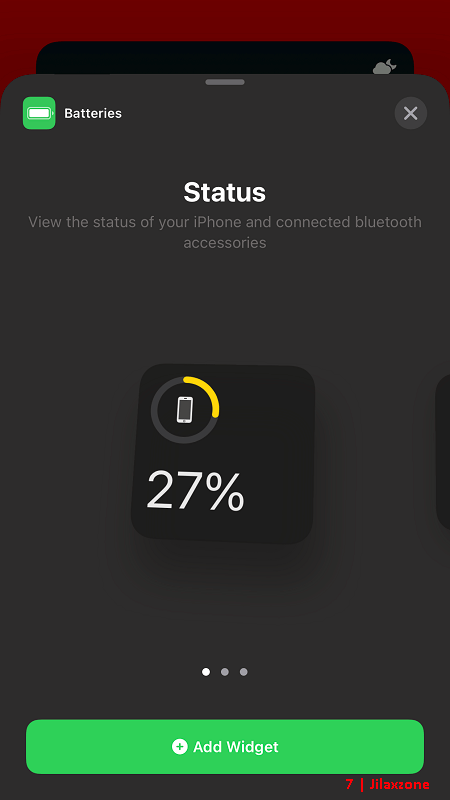
1) Add widget to Home screen. Add widget you like to be in your Smart Stack to the home screen. In case you don’t know or having difficulties in adding widget, do check here for the step by step tutorial.
2) Repeat step #1 to add another widgets you want to see in your own built Smart Stack widget. One thing to note, they have to be in the same size. So if you are trying to build a small Smart Stack widget, ensure all the widgets are in small sizes.
3) Stack them together. Now here’s the trick. Enable jiggle mode by long pressing any icons on iOS Home screen until the icons are jiggling. Then tap one of the widget you have added into iOS Home screen, then drag and move it to another widget of the same size and release it on top of the widget.
4) Repeat step #3 for other widgets you want to add as your own built of Smart Stack widget.
Ta-da! You have just made your own Smart Stack widget. Congratulations!
If the steps above doesn’t really clear for you, have a look at the video I made.
In case you are having any difficulties, don’t hesitate to post a question on the comment section down below. I’ll be gladly help. Cheers!
Do you have anything you want me to cover on my next article? Write them down on the comment section down below.
Alternatively, find more interesting topics on JILAXZONE:
JILAXZONE – Jon’s Interesting Life & Amazing eXperience ZONE.
Hi, thanks for reading my curated article. Since you are here and if you find this article is good and helping you in anyway, help me to spread the words by sharing this article to your family, friends, acquaintances so the benefits do not just stop at you, they will also get the same goodness and benefit from it.
Or if you wish, you can also buy me a coffee:

Thank you!
Live to Share. Share to Live. This blog is my life-long term project, for me to share my experiences and knowledge to the world which hopefully can be fruitful to those who read them and in the end hoping to become my life-long (passive) income.
My apologies. If you see ads appearing on this site and getting annoyed or disturb by them. As much as I want to share everything for free, unfortunately the domain and hosting used to host all these articles are not free. That’s the reason I need the ads running to offset the cost. While I won’t force you to see the ads, but it will be great and helpful if you are willing to turn off the ad-blocker while seeing this site.

THANK YOU.